


Internet of things is a pretty hot concept these days and just everyone is hitching onto it, even Microsoft. Quoting what Terry Myerson said "with Windows 10, we are targeting the largest device span ever". From the likes of HoloLens all the way to the smallest of devices (IoT), Microsoft is genuinely interested in bringing Windows 10 these devices.
Back in February with the release of the Raspberry Pi 2, the foundation promised in their blog post that they are closely working with Microsoft to bring Windows 10 to the tiny $35 PC. At that time, the media was going crazy and most of us thought the Raspberry Pi 2 was going to be the most affordable Windows 10 system out there.
Well, as it turns out Windows 10 for the Raspberry Pi 2 is just a platform for creators to create some pretty cool projects like the holographic robot Microsoft demoed on stage during the keynote. Called Windows IoT Core, this version of Windows 10 for small compute boards like the Raspberry Pi 2, Intel Galileo and Arduino doesn't feature a graphical UI yet.
So, here we go again. Just a few weeks back i showed you how to setup the Raspberry Pi 2 with raspbian and today, i'll give you some insights into loading Windows 10 IoT Core onto your Raspberry Pi 2. Just remember, the current Windows 10 IoT Core is a little rough and some things like Wi-Fi still does not work. Also, if you're not into modding and creating, i would refrain you from installing Windows 10 IoT Core onto your Raspberry Pi 2.

(!) What will you need:
- Raspberry Pi 2
- microUSB for power
- HDMI and ethernet (optional)
- 8GB (or more) microSD card
- Internet connection to download the package
- PC running Windows 10 (Build 10069 or above)
- Upwards of 30 minutes of time
Step 1: Register with the Microsoft Connect program

Step 2: Accepting the Terms of Service
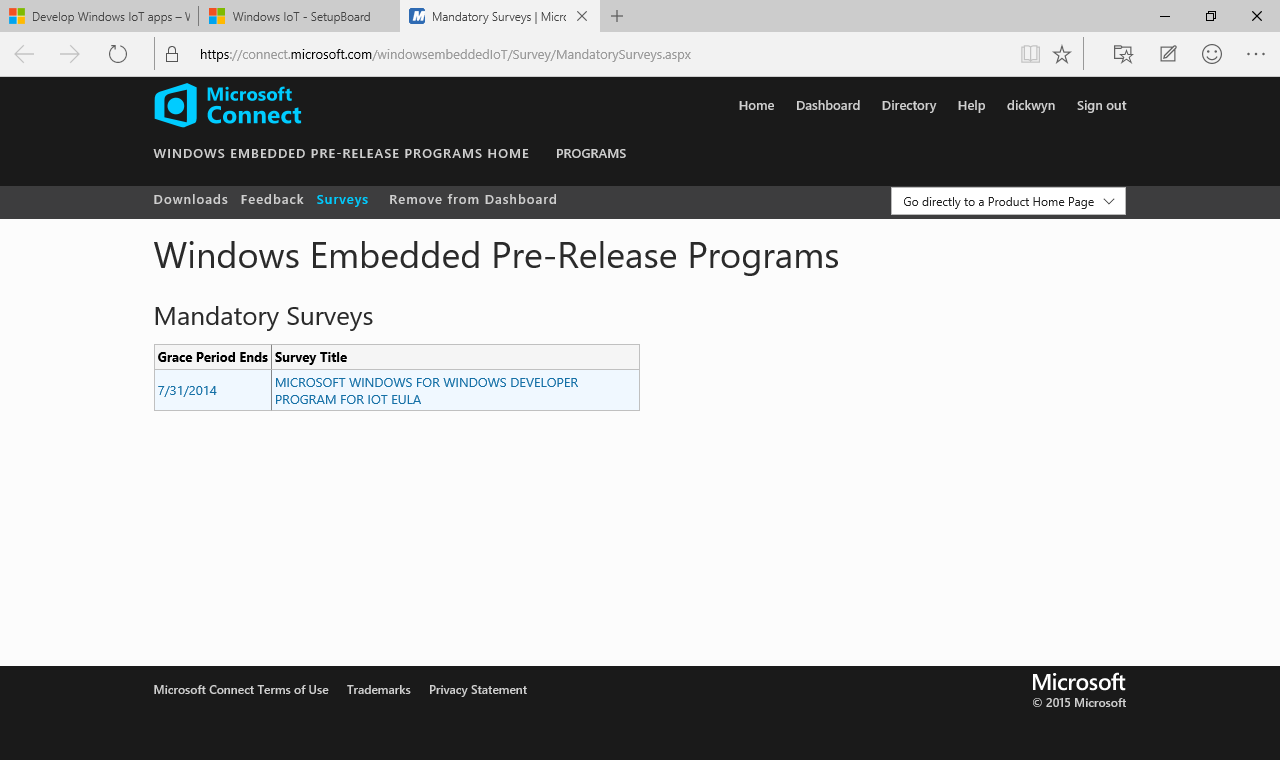
After you are done entering your details for the Microsoft Connect program, you will then be redirected to a page which requires you to accept some terms and conditions for the Windows 10 IoT Core program. Just click on each of the surveys and 'try' reading through the terms and hit the accept terms checkmark on the bottom of the page.


Step 3: Downloading Windows 10 IoT Core for the Raspberry Pi 2


Step 4: Extract flash.ffu from the ZIP file

In the folder, find the file called flash.ffu (it's the biggest file in there) and copy it to a place outside the ZIP file. If you're keen on exactly following my tutorial, i've simply just copied the flash.ffu file to the downloads folder.
Step 5: Launch Command Prompt

Step 6: Insert the microSD card into your PC

diskpart
list disk
exit
If you plugged in your microSD card into the system, you should see it listed as a offline disk when you type in list disk. Note the disk number of the microSD card as it might be different on your system. For my 8GB microSD card, it is listed as Disk 1. (screenshot in the next step).Step 7: Identify the location of your flash.ffu file
Remember the flash.ffu file that you extracted from the download package earlier, well now you need to fin the directory of that folder. What you need to do is to navigate to where you copied that file to and right click on the flash.ffu file and click properties. Navigate the 'General' tab and you will see the location of the file there.All you have to do now is to copy or type the file location of your flash.ffu file into the command prompt window you opened earlier. Just type cd in front of your file location and hit enter. Mind you that your username might be different than mine so you will need to change that (my username: dickw).
cd C:\Users\dickw\downloads

Step 8: Installing the image file onto your Raspberry Pi 2

C:\Users\dickw\Downloads>
So, the next thing to do is the copy the following line of code onto command prompt. But you have to make a slight change to the code below, replace the 'N' on PhysicalDriveN with the drive number you noted down earlier. For example, my microSD card is reference by the computer as Disk 1, so i will replace PhysicalDriveN as PhysicalDrive1
dism.exe /Apply-Image /ImageFile:flash.ffu /ApplyDrive:\\.\PhysicalDriveN /SkipPlatformCheck
Step 9: You're done!

Shortly after running that previous line of code, you should see the progress bar on screen and when it reaches 100% then you are done. That is it, installing Windows 10 IoT Core on your Raspberry Pi 2 is as simple as installing Raspbian. It's the just the command prompt codes might be a little confusing.
 You can now plug in your microSD card onto your Raspberry Pi 2 and boot up the system. If everything goes well, you will first see the blue Windows logo come up and then a blue page with some text will come up. After that, the Pi 2 will reboot and land on the Windows 10 IoT Core Insider Preview page.
At this point in time, i can't do much with the IoT core because i don't have the tools needed for my project. But rest assured, i'll update on my project when i get it up and running.
Do drop questions in the comment section below if you have any problems with the installtion
Conclusion
At this point in time, i can't do much with the IoT core because i don't have the tools needed for my project. But rest assured, i'll update on my project when i get it up and running.
Do drop questions in the comment section below if you have any problems with the installtion
No comments :
Post a Comment